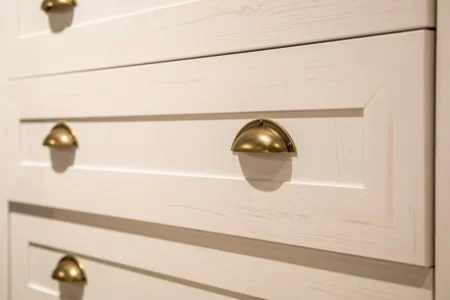
 Cabinet hardware may seem like a minor detail in your home, but it plays a significant role in both functionality and aesthetics. Over time, cabinet hardware can wear out, become outdated, or simply no longer suit your style preferences.
Recognizing the signs that it’s time to replace your cabinet hardware is the first step toward enhancing the overall look and functionality of your space.
Today, we’ll explore common signs that indicate it’s time for a hardware upgrade and provide practical tips for DIY installation to refresh your cabinets effortlessly.
Signs It’s Time for Replacement
- Worn or Damaged Hardware. If your cabinet hardware is showing signs of wear, such as scratches, dents, or rust, it’s time for an upgrade.
- Outdated Style. Cabinet hardware trends evolve over time. If your hardware looks dated or no longer complements your decor, consider replacing it with more modern options.
- Loose or Faulty Hardware. Loose handles or knobs that no longer function properly can be both frustrating and unsafe. Replace them to restore functionality and safety.
- Functionality Issues. If your cabinet hardware no longer operates smoothly or causes difficulty when opening or closing cabinets, it’s a clear sign that replacement is needed.
Choosing New Hardware
- Consider Style and Finish. Choose hardware that complements your existing decor style and finish. Whether you prefer classic, modern, or eclectic design, there are hardware options to suit every taste.
- Measure Carefully. Before purchasing new hardware, measure the hole spacing on your cabinets to ensure a proper fit. Take note of the size and shape of the existing holes to find hardware that matches.
- Test Samples. If possible, test hardware samples to see how they look and feel in your space before making a final decision. This allows you to assess compatibility with your cabinets and overall aesthetic.
DIY Installation Steps
- Gather Tools. You’ll need basic tools such as a screwdriver, drill, measuring tape, and a template for accurate installation.
- Remove Old Hardware. Use a screwdriver to remove the screws holding the old hardware in place. Keep track of the screws and any other hardware for reuse or disposal.
- Install New Hardware. Position the new hardware over the existing holes and insert the screws provided. Use a drill or screwdriver to tighten the screws securely.
- Test Functionality. Once installed, test the new hardware to ensure it operates smoothly and securely.
By recognizing the signs that it’s time to replace your cabinet hardware and following these DIY installation tips, you can easily refresh the look and functionality of your cabinets without breaking the bank. Whether you’re updating your kitchen, bathroom, or any other cabinetry in your home, new hardware can make a significant impact on the overall aesthetic and usability of the space.
Picture Credit: Freepik


